How to Automatically Remove Admin Privileges
Learn how to enhance the security of your system by automatically removing admin privileges.
Table of Contents
AutoElevate allows for rapid conversion of users to Standard user privileges and can ensure enforcement of your security policies. This can be done by location, company, or globally from the Settings screen as well as individually on a computer-by-computer basis from the Computers screen in the Admin Portal. This feature is not enabled by default, but can be set to do so from Settings.
How does it work?
When the Remove Admin Privileges setting is enabled and the agent is in Live or Policy mode, this setting automatically removes the currently logged-in user from the local Administrators group. The user would then need to log out and then log back in for their Admin Privileges to be completely removed. If the user logs in for the first time since feature is enabled, they will also need to logout and login a second time for their Admin Privileges to be completely removed.
- For example, if Todd@MyDomain.local is explicitly part of the local administrator's group on the computer and the Remove Admin Privileges is set to On, then when the user logs in, the account (Todd@MyDomain.local) will be removed from the local administrator's group.
This functionality does NOT affect domain group membership OR modify domain groups on the local machine.
-
For example, if the user is part of the “Domain Admins” group, they will not be changed. Or, if the “Domain Users” group is part of the local Administrators group, then the domain user will still have Admin privileges. Domain groups and permissions will need to be managed separately.
Before You Begin
Be sure to set which accounts should NEVER be changed.
-
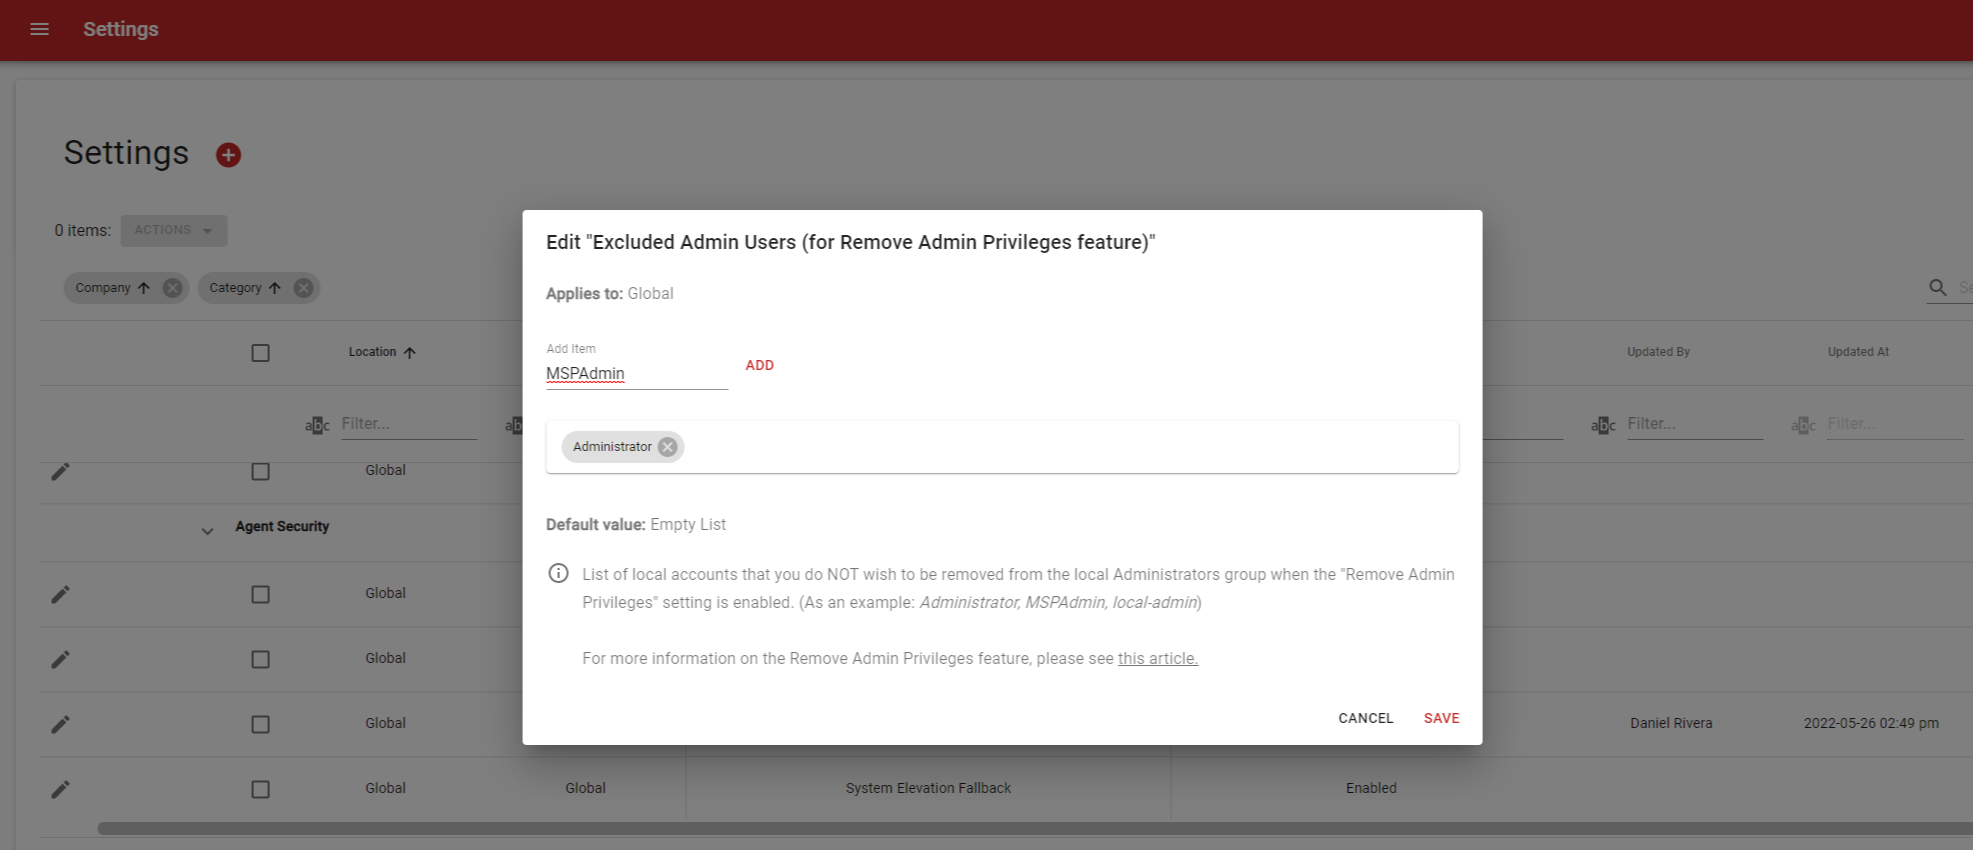
The list of exceptions can be set globally on the Settings screen. From the Settings screen, select Global -> Agent Security -> Excluded Admin Users (for Remove Admin Privileges feature) -> Edit (Pencil icon)
-
Add Item: Add local accounts that you do NOT wish to be removed from the local Administrators group individually, then click SAVE
- The format to exclude an Azure AD admin user should follow the user's folder name as it appears in File Explorer. For example, if the email address is TestUser@domain.com, but the user folder in File Explorer is TestUser, the excluded AE entry will be listed as TestUser and not TestUser@domain.com nor AZUREAD\username.
- Or create a new Level Setting to override the Global setting (Whole Company, Location, or Computer with hierarchy of Computers taking precedence) using the "+" icon from the top of the grid.

Note: Once you have set the list of accounts that should be excluded from having the Remove Admin Privileges setting applied , you may enable "Remove Admin Privileges".
Enabling Remove Admin Privileges
From the Settings screen select either Global -> Agent Security -> Remove Admin Privileges -> Edit (Pencil icon) or create a new Level Setting (Whole Company or Location) using the "+" icon from the top of the grid.
-
Enabled: Check to enable.
- To override this setting for a specific computer:
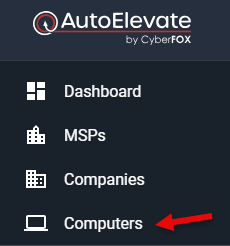
- Go to the Computers screen.
- Select the computer(s) by clicking the square next to the computer(s).
- Click on the Actions menu at the top of the screen.
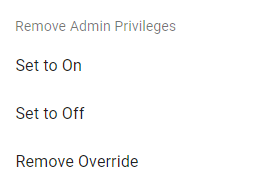
- Select the desired setting under the “Remove Admin Privileges” section for the computer(s):

- Set to On: Enabled
- Set to Off: Never remove admin privileges.
- On (Override): Use the default setting created in the "Settings" screen.
See image below:

Once enabled, at the next Agent check-in, the logged-in user will be converted to a Standard user if:
-
The logged-in user is configured as a local administrator on the machine.
-
The User is not listed as one of the “Excluded Admin Users” in global or company settings.
- The agent is set to Live or Policy mode.
Restoring Local Admin Rights
Please note that when enabling this feature, our agent can only remove local admin rights at this time and cannot restore them.