Sharing items in Password Boss
Learn how to quickly and easily share important passwords, notes, and other items with team members and family with Password Boss.

Written by Owen Parry
Updated at April 17th, 2026
Table of Contents
How Sharing Works
Share Permissions
Editor
Read‑Only / Password Visible
Read‑Only / Password Hidden (Invisible)
How to share items
Managing Existing Shares
Actions Include:
Converting a Share to a Vault
When to Convert
Important Rules
Behavior in the Browser Extension
Behavior on Mobile Apps
Security Considerations
Summary
Sharing items in Password Boss allows you to securely provide access to passwords, notes, and other sensitive data to individuals or teams. Sharing supports granular permission levels, visibility controls, and seamless transitions into Company Vaults for scalable access management.
How Sharing Works
Sharing lets you grant controlled access to items stored in your Password Boss account. Each recipient receives a permission level that determines what they can see and do.
Shared items appear in the recipient’s Shared with Me list and enforce all visibility rules across the WebApp, Browser Extension, and mobile apps.
Share Permissions
Each recipient is assigned one of the following roles.
Editor
Editors have full visibility and can modify items.
Editors can:
- View all item details, including passwords.
- Edit fields.
- Add items to the share.
Editors cannot:
- Remove the Owner.
- Convert the share to a vault.
Read‑Only / Password Visible
Recipients can see all details but cannot modify the item.
Can:
- View everything, including passwords.
- Use autofill.
Cannot:
- Edit or delete.
- Add items.
Read‑Only / Password Hidden (Invisible)
Invisible is the most restrictive role.
Can:
- Use autofill to log in without seeing the password.
- Access non‑sensitive metadata (if allowed).
Cannot:
- View or copy the password.
- Access hidden fields.
- Extract credentials via extension or API.
Updated Behavior
- Copy Password is fully suppressed in the WebApp and Browser Extension.
- Autofill remains available.
-
Invisible access does not migrate when converting to a vault
How to share items
Shared items normally appear in the recipient's account a few minutes after creating the Share. Recipients will receive an in‑app prompt to accept the share.
WebApp
-
Open Password Boss.
- From the left menu, choose Share Center.
- Click on the Add Share button
 to create a new Share.
- The Create a new Share window will open.
-
Select the profile you want to share items from.
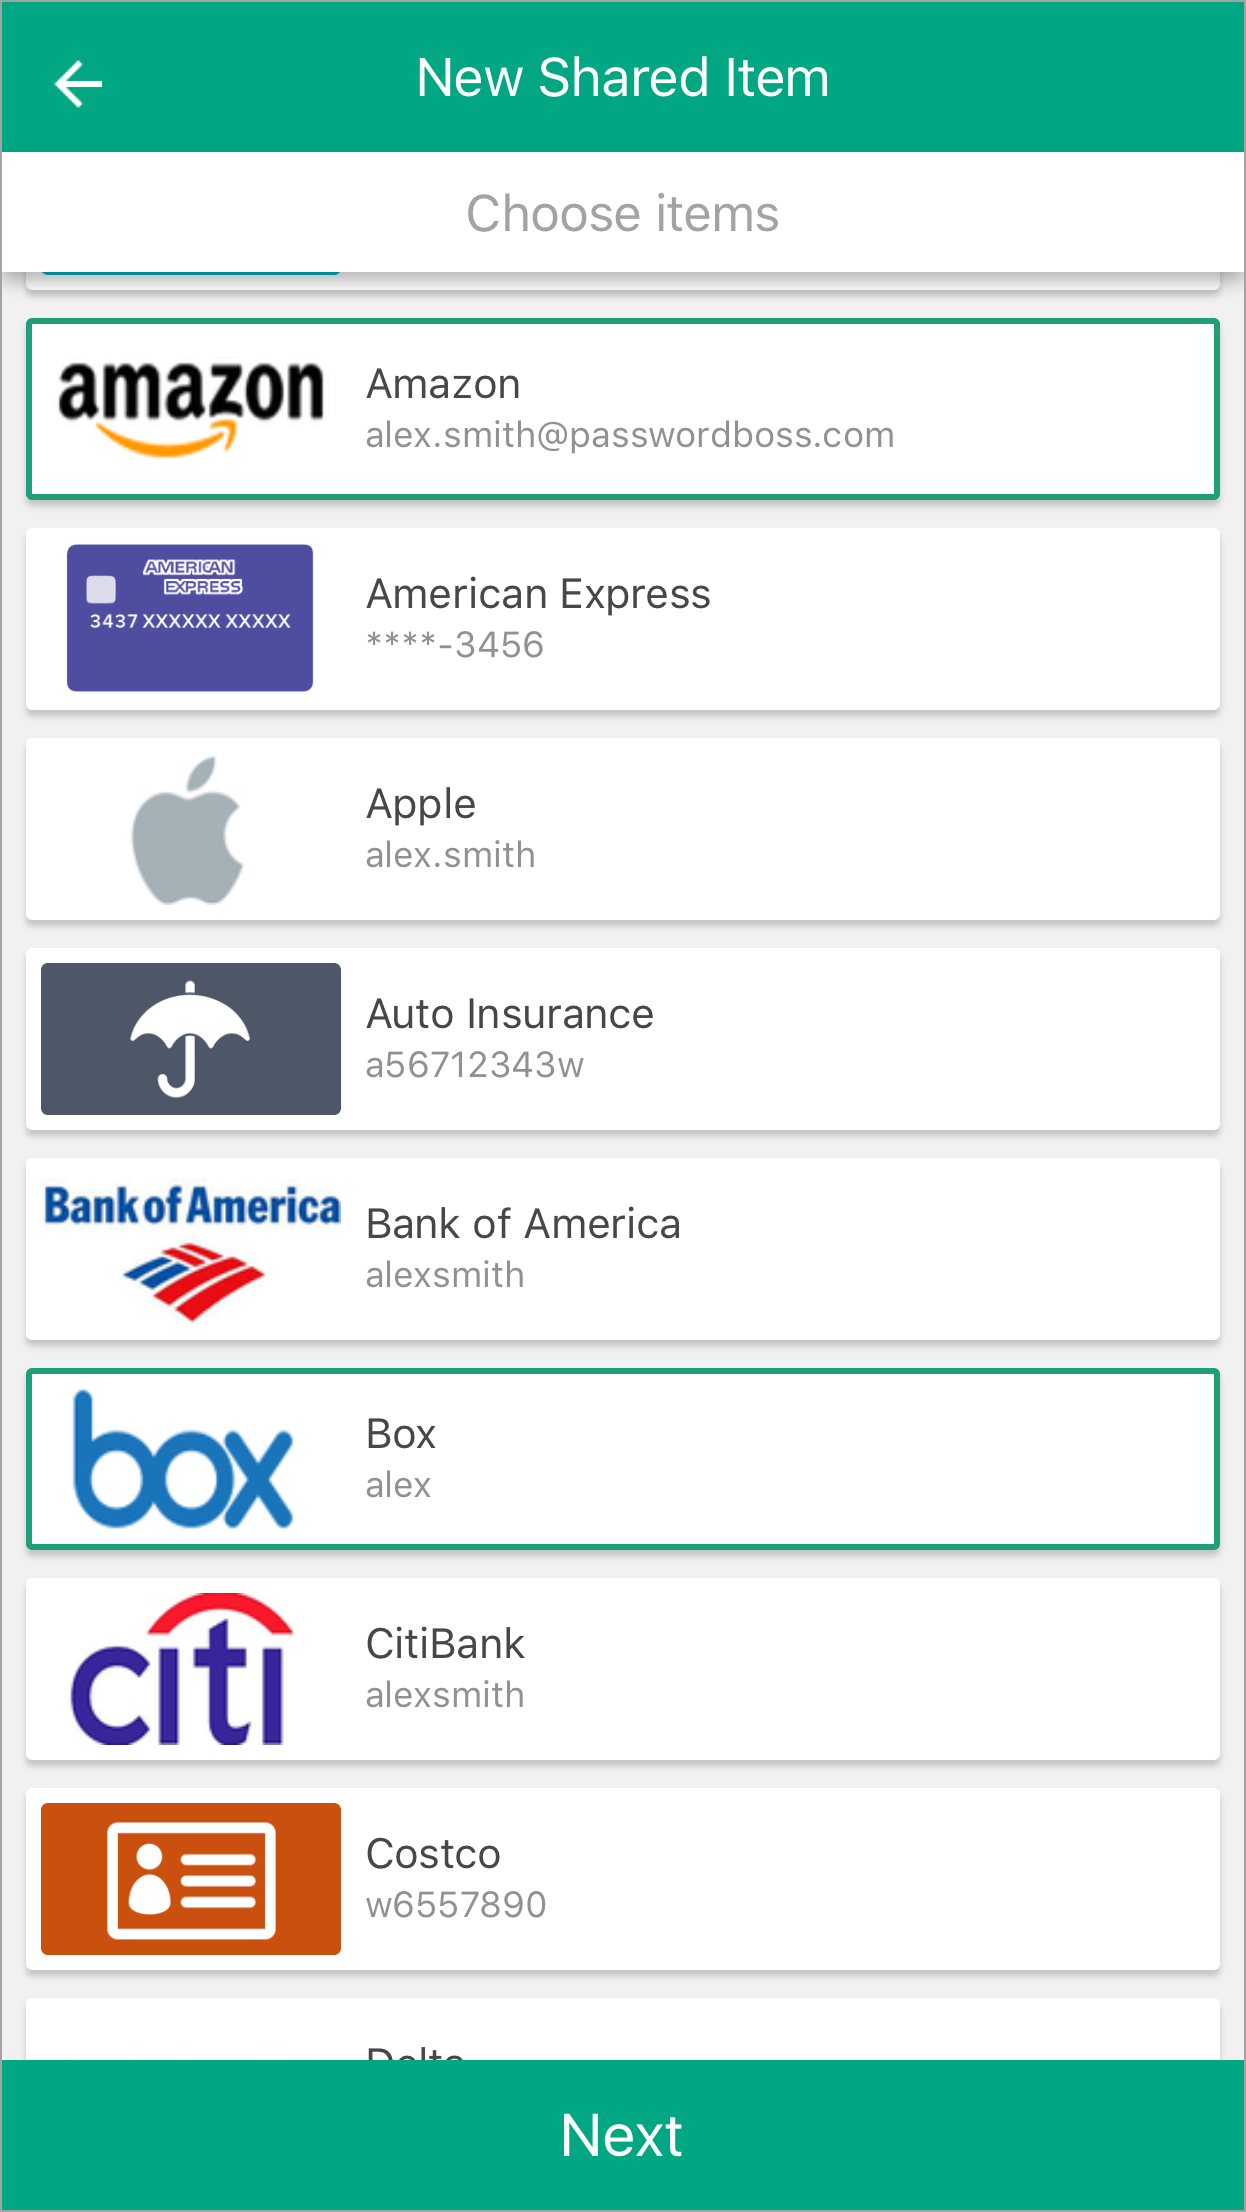
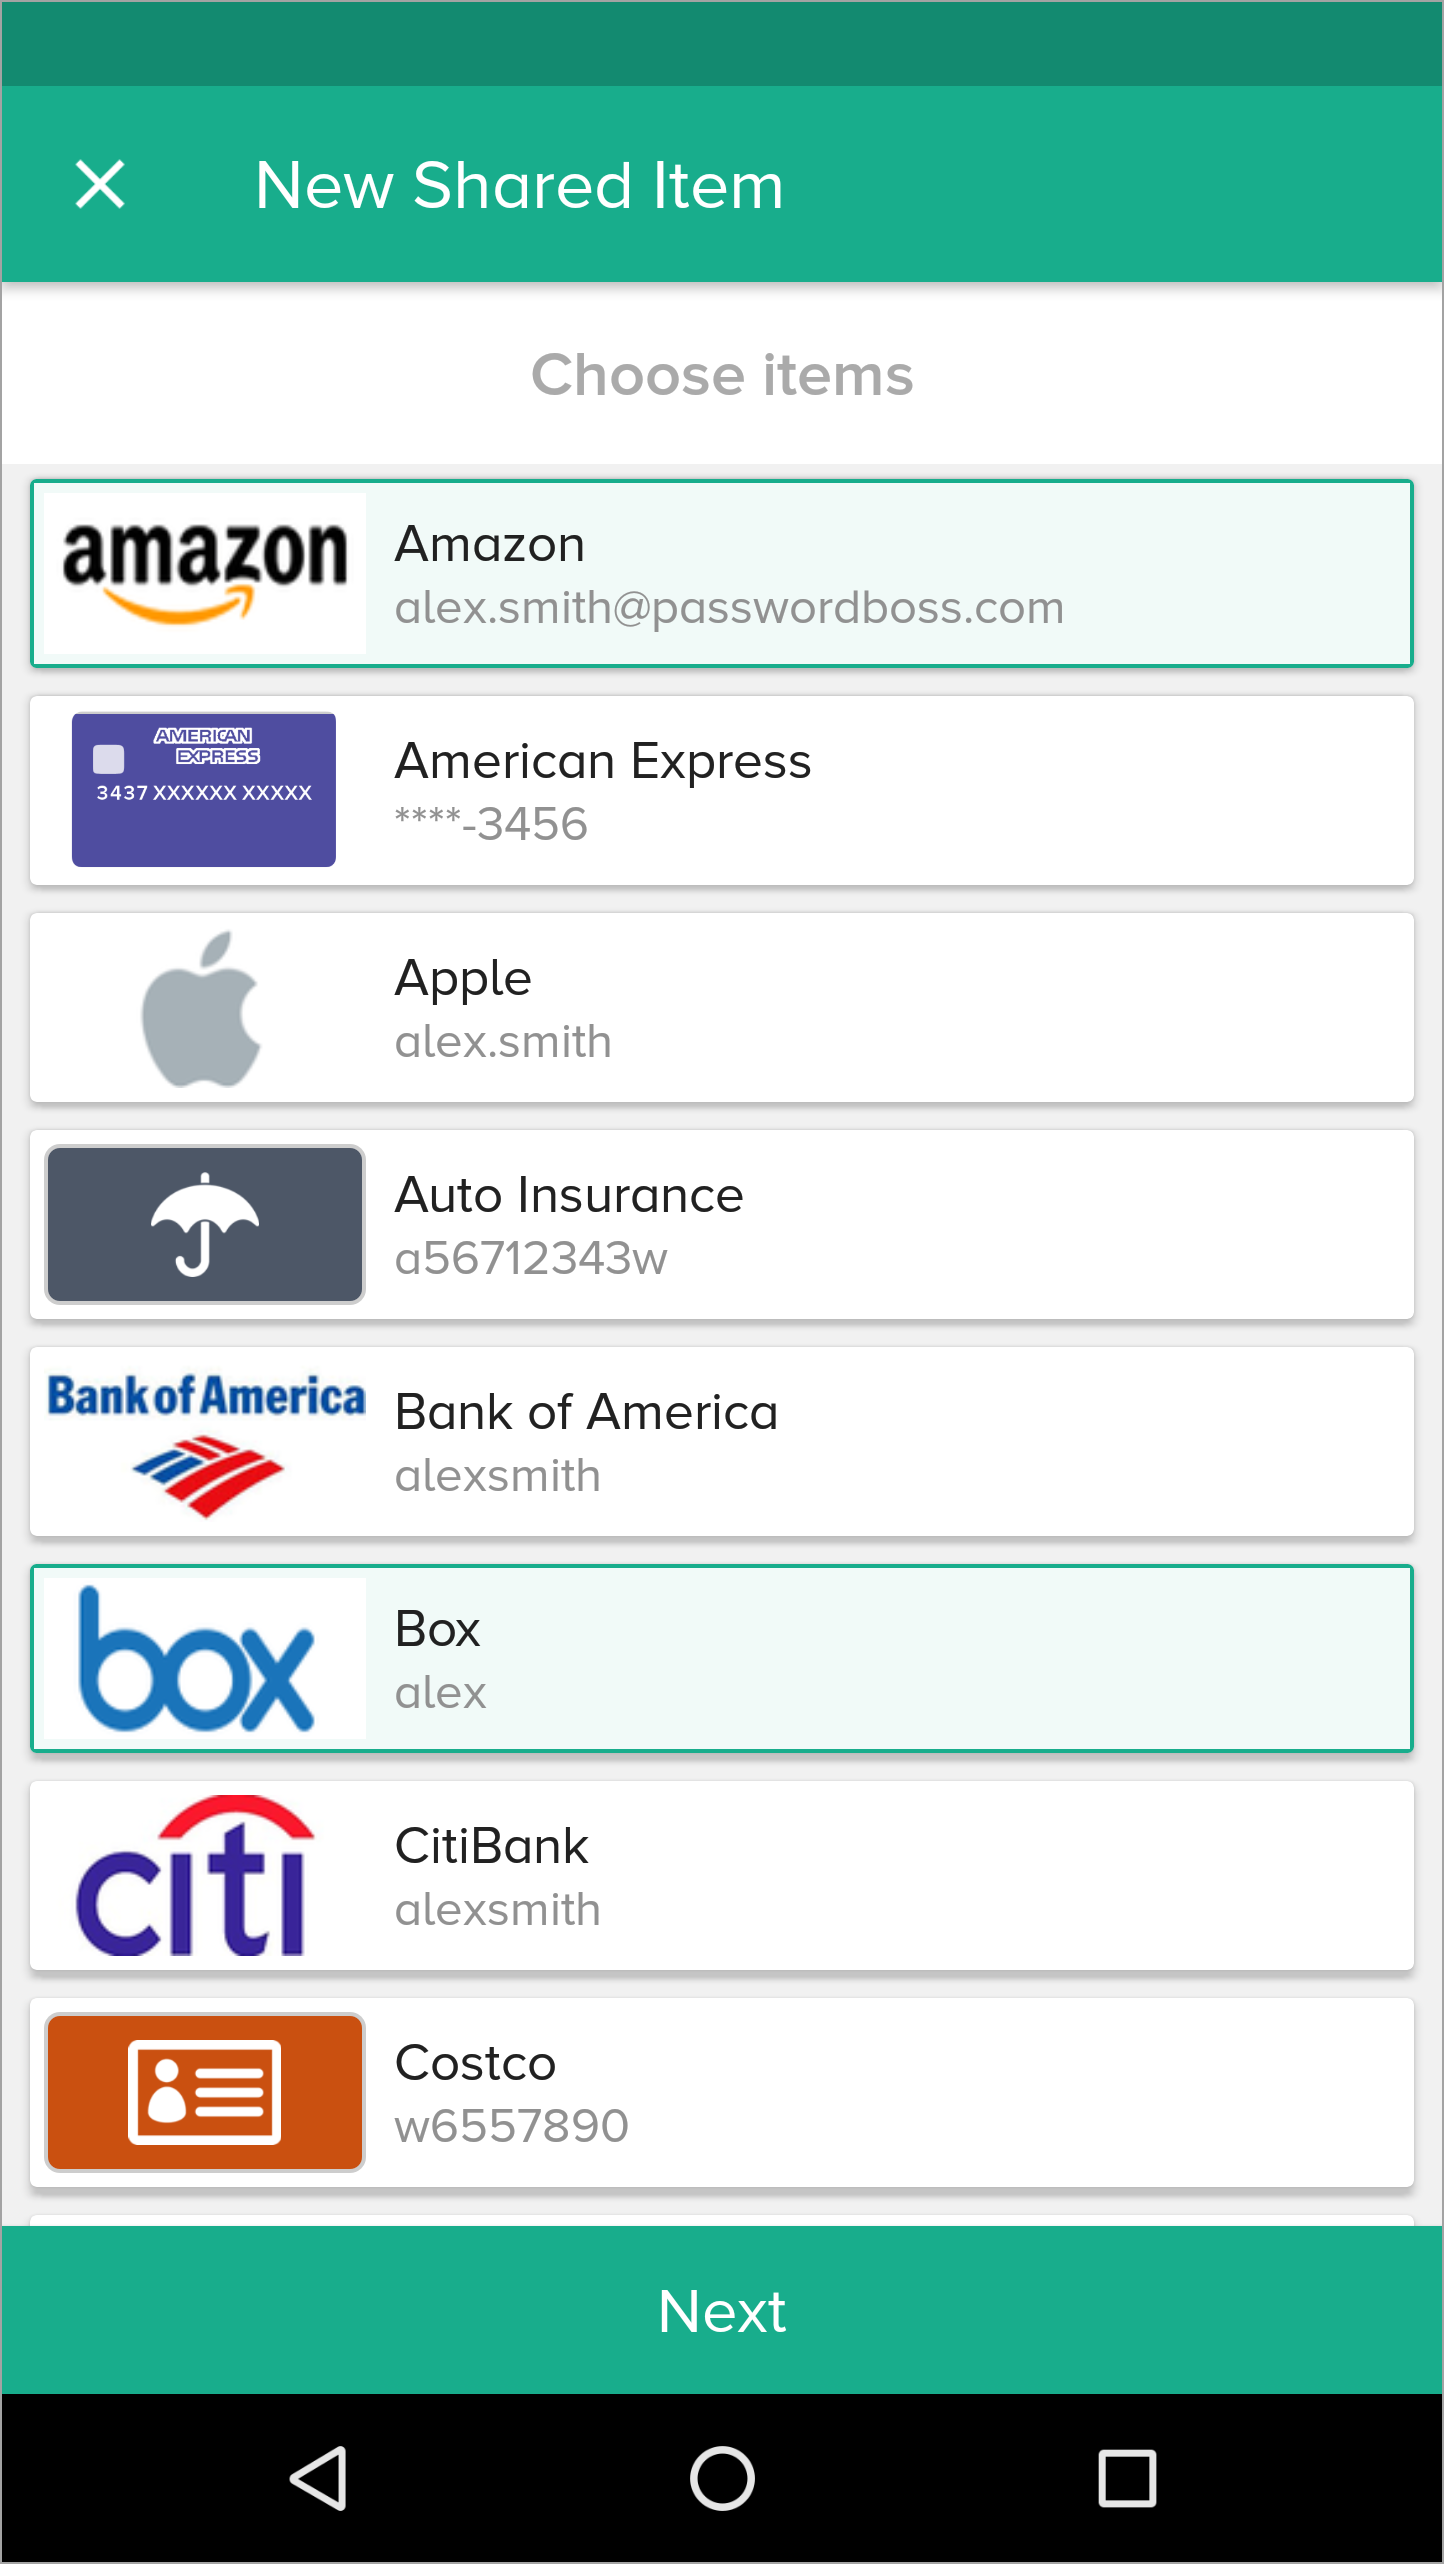
- Check the box next to each item or folder you want to share.

7. Click Next.
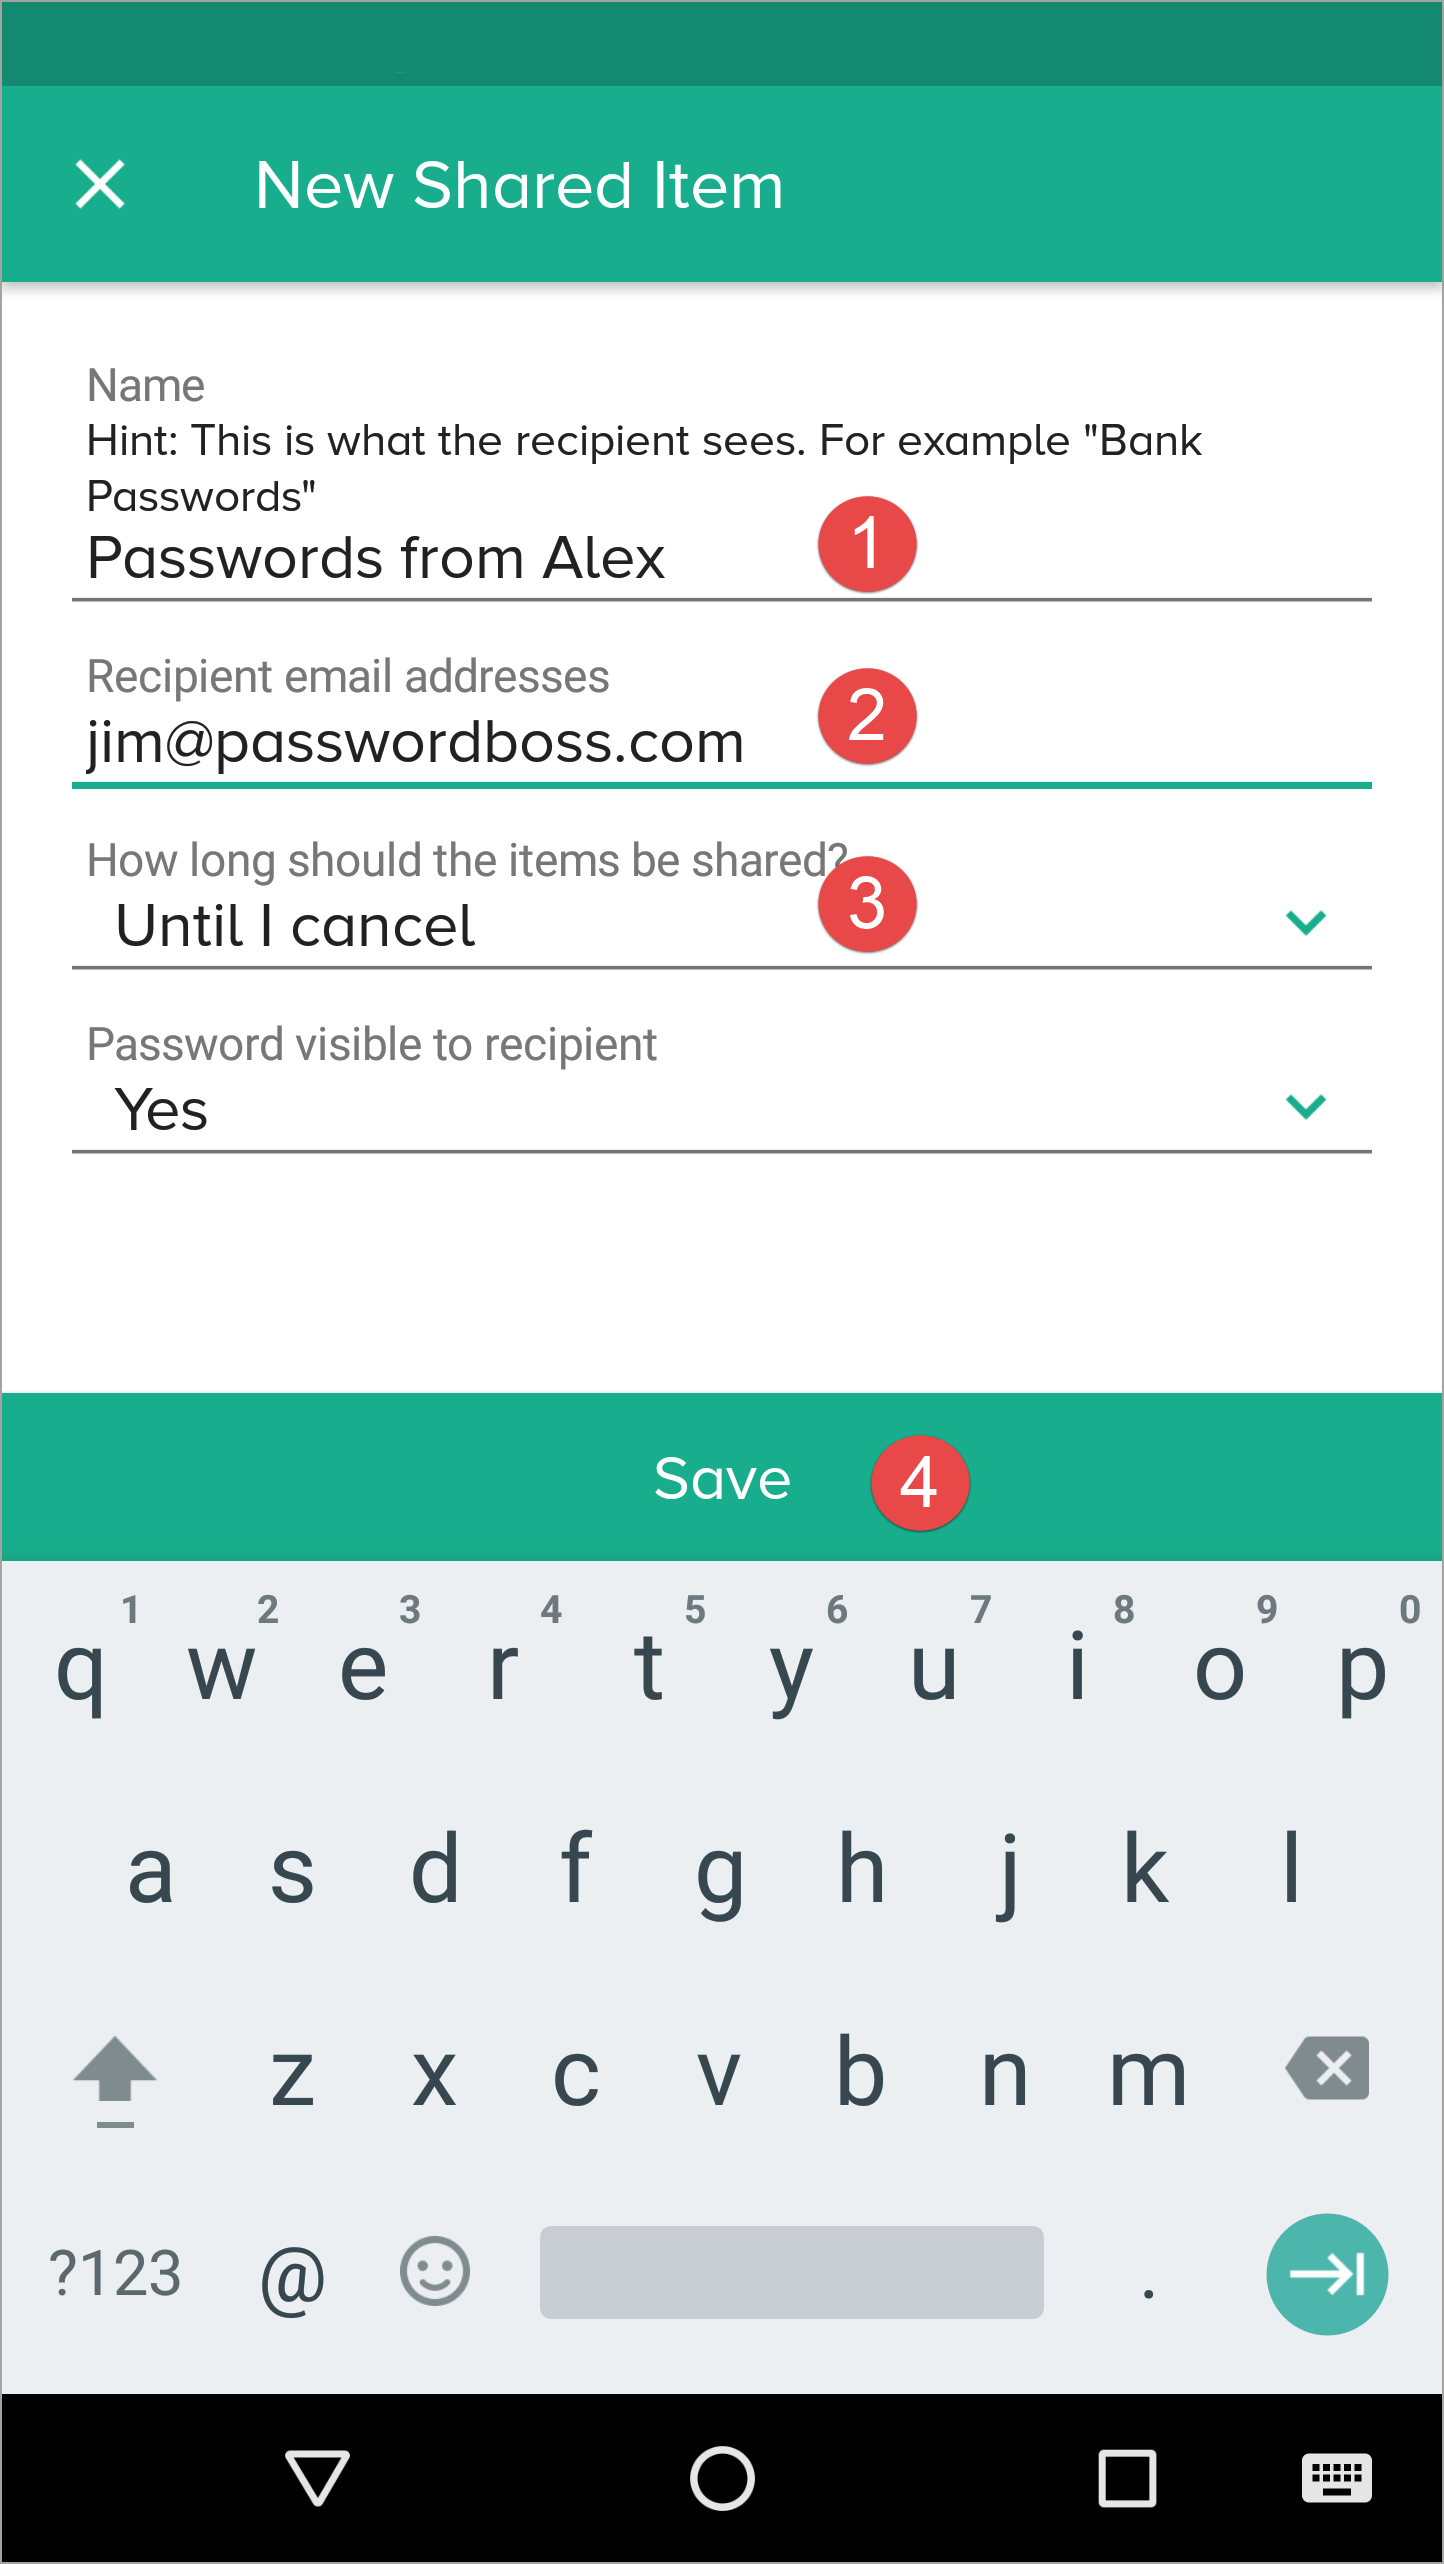
8. Enter a Name for the Share, add recipients, pick a permission (Invisible, Read, Editor), and click Add, use the How Long Should the Items be Shared feature (optional), and Save Share.


The recipient can then open the Share Center, and on the Shared with Me tab they can Accept or Decline the Share.
iOS
-
Open Password Boss.
- From the bottom menu, tap More

- Tap Share Center.
- Tap the green and white circle

- Tap Individual Items or Entire Folder.
-
Tap the items you want to share.
- Tap Next.
- Enter a Name for the Share, add recipients, pick a duration, and tap Share item.

- The recipient can then open the Share Center and on the Shared with Me tab, they can Accept or Decline the Share.
Android
-
Open Password Boss.
- From the top left tap the menu icon

- Tap Share Center.
- Tap on the orange circle

- Tap Individual Items or Entire Folder.
-
Tap the items you want to share.
- Tap Next.
- Enter a Name for the Share, add recipients, pick a duration, and tap Share item.
- The recipient can then open the Share Center and on the Shared with Me tab,they can Accept or Decline the Share.
Managing Existing Shares
You can edit or remove share recipients using the item’s Share Details panel.
Actions Include:
- Changing roles (Invisible → Reader → Editor).
- Removing a recipient.
- Reviewing activity logs.
Changes apply instantly across all devices.
Converting a Share to a Vault
Sharing can be upgraded into a structured vault.
When to Convert
Use a vault when:
- Multiple people need ongoing access.
- You want role‑based management.
- You want the ability to assign multiple Owners.
Important Rules
- Items are moved to the vault.
- Clone items in other shares stop being shared elsewhere.
- Invisible recipients are not added to the vault.
- Former recipients must be assigned Vault roles manually.
Behavior in the Browser Extension
The Browser Extension displays only the actions that match the recipient’s role.
- Editor: Full view, editing shortcuts.
- Read‑Only Visible: View and autofill.
- Invisible: Autofill only; no copy, no reveal.
If a shared item becomes part of a vault, extension behavior follows the Vault role, not the original share role.
Behavior on Mobile Apps
- Password visibility follows permission level.
- Invisible users attempting to reveal a password see a Not permitted message.
- TOTP is shown only if visibility is part of the assigned role.
Security Considerations
- Sharing uses Zero‑Knowledge encryption.
- Only the Owner and approved recipients can decrypt items.
- Invisible mode exists to allow login use without exposing secrets.
- Activity Logs track role changes, recipient additions/removals, and vault migration.
Summary
- Sharing supports granular permissions.
- Invisible users have the strictest restrictions and cannot migrate to vaults.
- Role changes take effect instantly everywhere.
- Converting shares to vaults centralizes control and enhances team management.