Groups

Written by Owen Parry
Updated at July 14th, 2025
Table of Contents
Overview
- Groups are used for sharing items in the Password Boss app and are designed to make it easy to manage recipients of shared items.
- Once groups are created on the portal, users can use the groups to share items in the Password Boss app.
- Groups can be created in the portal or synced from Active Directory. The Managed By column on the Groups tab tells you where the groups originated.
- If groups are created from Active Directory, the group named will be appended with (AD) to distinguish these groups.
- Groups created from Active Directory can only be viewed in the portal, all changes for these groups must be made in Active Directory.
The Everyone group
All Companies have an Everyone group that is automatically created for the company. The Everyone group contains all team members from that company. The membership of the Everyone group is maintained automatically by Password Boss.
Info
The Everyone group includes everyone in your account. Only use the Everyone group as a recipient to a share when all team members need access to the shared items. If only some team members need access to the shared items, create a new group with limited membership.
Use meaningful names for groups.
- Use names for your groups that describe the group so that other team members will be able to identify the group. Group names that identify the group, project, or department make it easier for other team members to identify what the group is for. Examples: Marketing, Finance, Project Alpha.
- Consider adding the permissions to the name of the group.
- Depending on your team structure, it may be useful to create groups that will be used to assign read-only permission and other groups that will have editor permissions. Examples: Marketing-Read Only, Marketing-Editor, HR-Read Only, HR-Editor.
Avoid duplicating groups
Keep your list of groups concise and avoid making groups that duplicate the membership in an existing group.
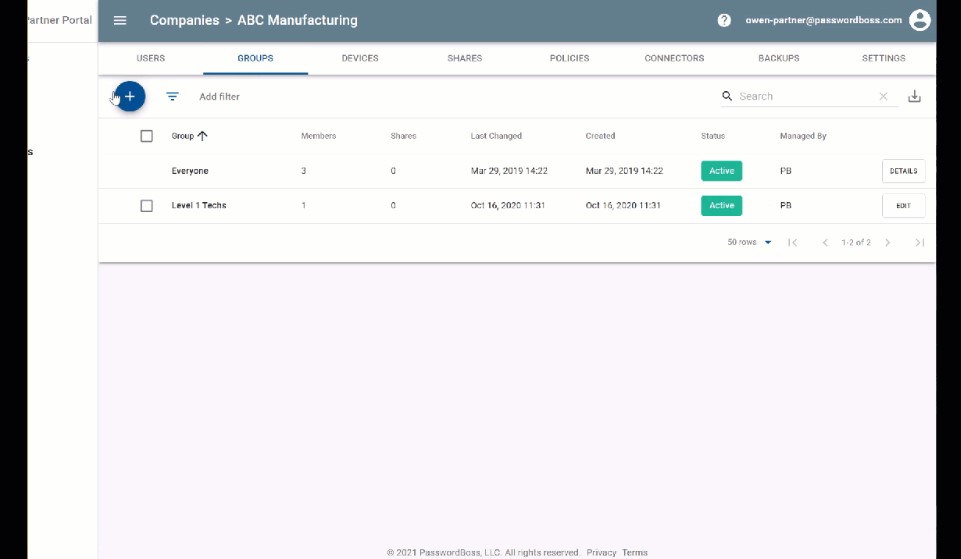
How to create groups
- Login to the Password Boss partner portal as an admin for your team or customers.
- Click on the Company you want to manage, then GROUPS from the top menu.
- Click + and select Add group
- Enter a group name and Add users to the group, then click ADD GROUP to complete.
Tip - Click the images to make them larger
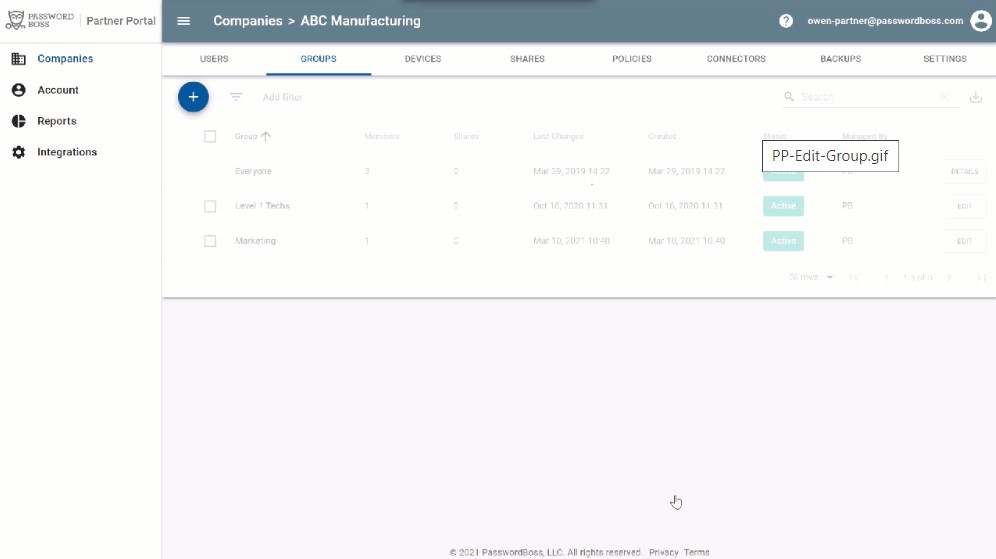
How to add or remove users from a group
- Login to the Password Boss partner portal as an admin for your team or customers.
- Click on the Company you want to manage, then GROUPS from the top menu.
- Find the group you want to change, and click EDIT.
- Add or remove users from the group. You can also edit the name of the group from this screen.
- Click SAVE CHANGES when you are done.
 Tip - Click the images to make them larger
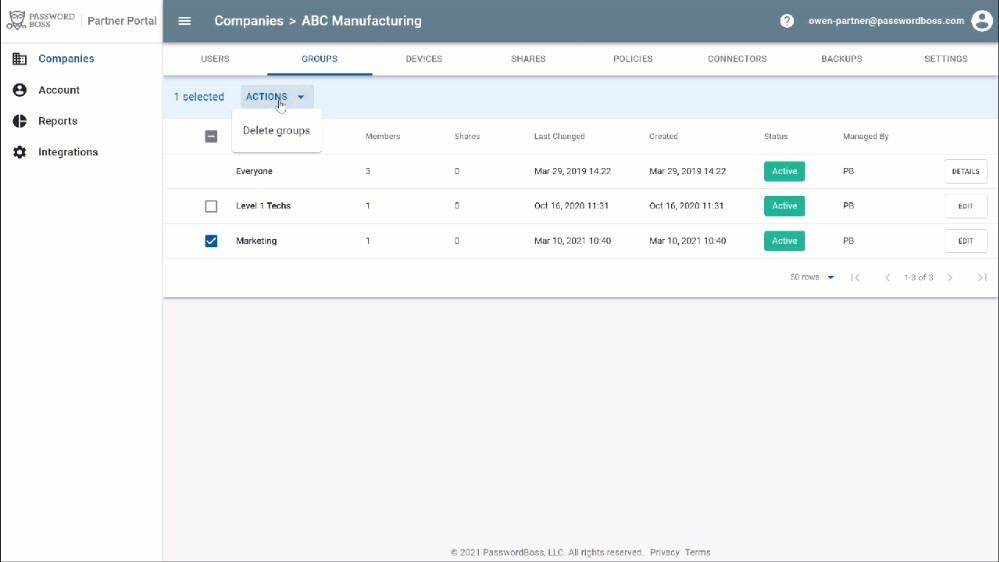
How to delete groups
- Login to the Password Boss partner portal as an admin for your team or customers.
- Click on the Company you want to manage, then GROUPS from the top menu.
- Find the group you want to change and check the box next to the name of that group.
- From the blue Actions button, choose Delete groups
- On the confirmation screen, click OK.
 Tip - Click the images to make them larger
Deleting Groups still part of shares
Groups can be deleted only if they are not included in any shares. If you delete a group that is a recipient to a share, the group will be put into a pending delete status. Once the group to be deleted has been removed from any shares, then the group will be deleted automatically.